Showing posts with label sewing. Show all posts
Tuesday, March 20, 2012
Fun and Easy Sewing Idea for Kids - Toy Pillows!
I love to let my kids sew with me, since I really wish I'd learned to sew when I was younger (not that stumbling through YouTube tutorials isn't effective and all, but....). But it's hard to find projects that are easy enough that they can truly do a large part of it themselves.
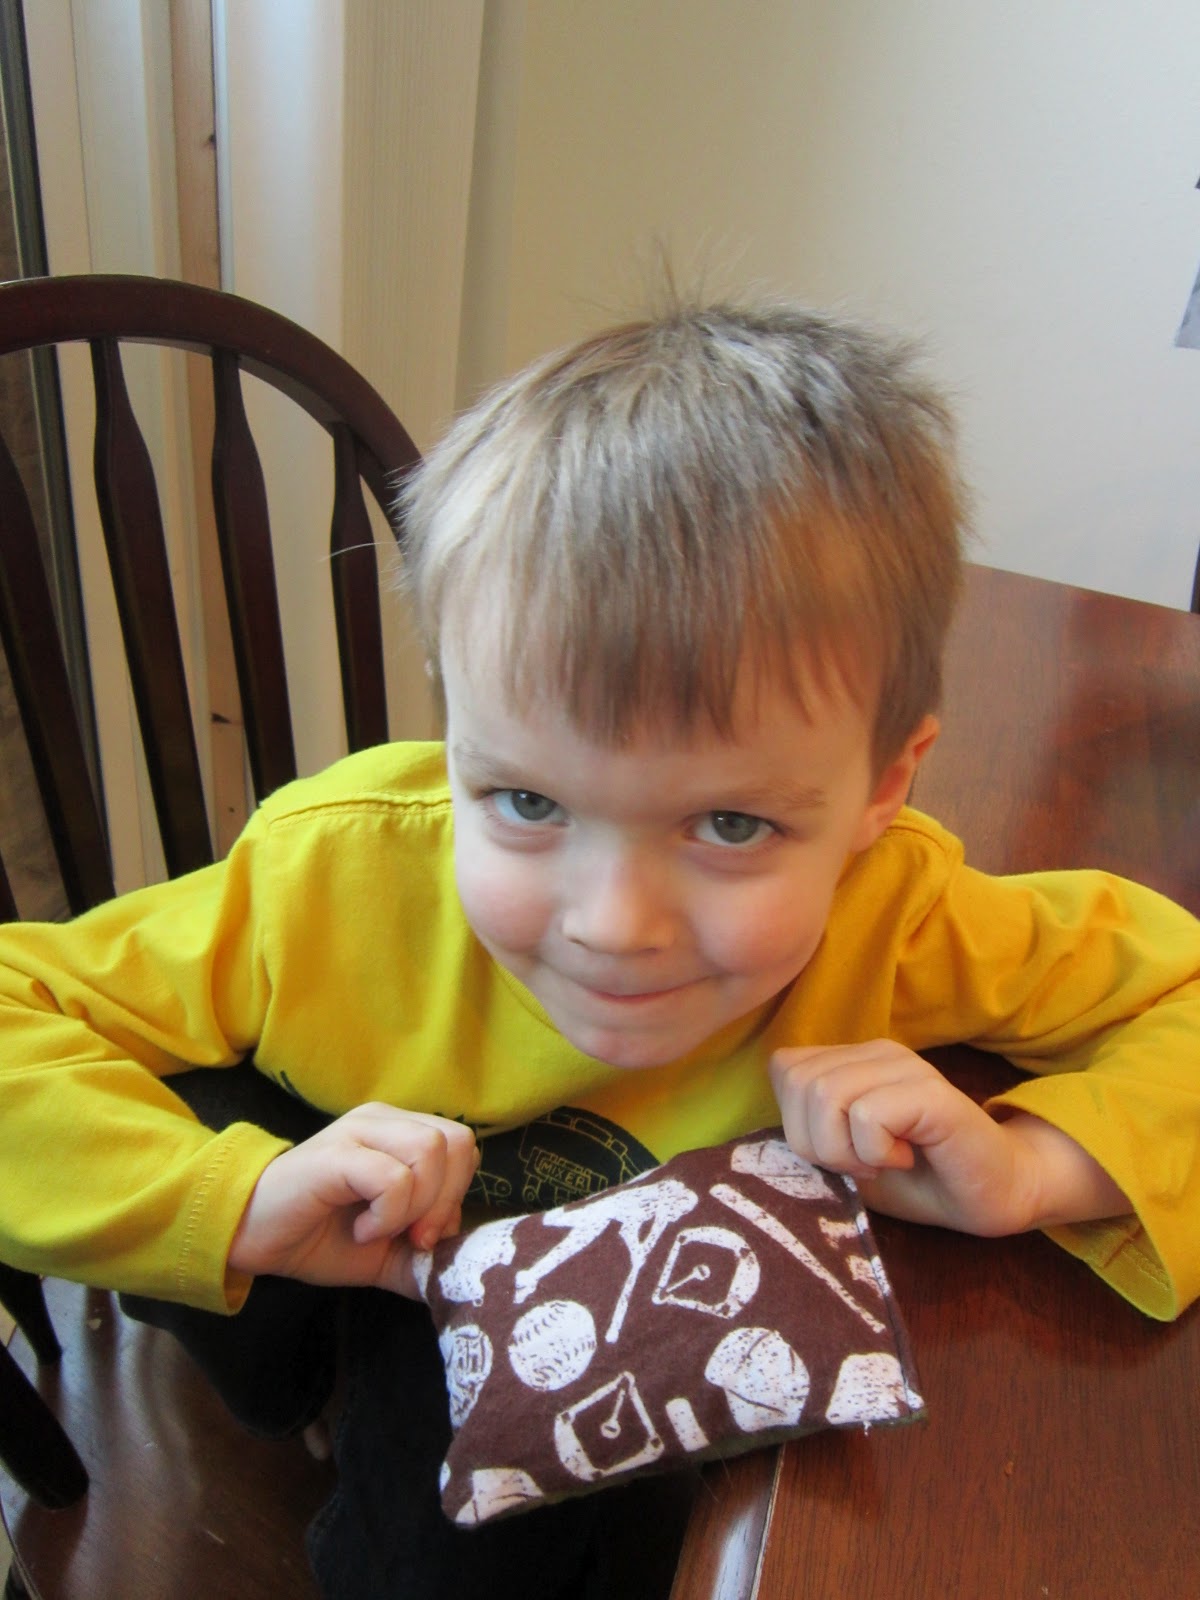
Last week we decided to make little pillows for the kids' dolls and stuffed animals. I brought down my box of scraps, and my kids sorted through to find what they wanted. My son chose two random flannel prints that totally clashed, but who cares? (That's me not being a control freak. I'm practicing.)
First, make a template out of cardboard. Mine was about 5 inches by 7 inches. Then your child can trace the template on the wrong side of your fabric(s). You'll need two of these. Cut out, or have your kids cut it out, and pin the two sides together if desired, right sides together.
Start on one of the long sides, and sew down the edge until you get about a quarter inch from the bottom. Make sure your needle is stabbed into the fabric (expert sewing terminology, thanks YouTube), and rotate the fabric 90 degrees. Sew down the short side. Repeat the pivot, and sew down the last long side. I let my kids sit on my lap and press the pedal, with my food under theirs for safety. They go when I say go and stop when I say stop. For my younger two (ages 4 & 2), I handle the fabric. My oldest (age 6) is learning to manipulate the fabric herself, with my supervision.
At this point, flip the pillow so it's right side out.
Let your child stuff it with some polyfill.
Then shove the polyfill down a little, tuck your ends in, and sew that last seam nice and close to the edge.
Because this was a project for dolls and stuffed animals, I didn't worry that the whole last seam was visible when none of the others were. Oddly enough, Poley the Polar Bear didn't complain either. But if that kind of thing matters to you, just stitch half the fourth side when you do the other three and then hand stitch it shut, I guess.
Loved this project so much. It literally takes about 5 minutes, and takes such a minimal amount of fabric. My kids loved seeing fabrics that had originally been used to make clothes for them, and using those same fabrics to make matching pillows for their toys. We made some with the cousins too, and this worked for both boys and girls, from ages 2-9. We will definitely be making more of these at our house! My daughter has plans for a matching patchwork quilt, so I guess at some point I'll have to break it to her that I don't know how to sew a doll quilt. But then again, there's always YouTube....
Wednesday, July 27, 2011
Sewing Tutorial Review: The MADE Beach Towel Robe
So I mentioned a while back on Facebook that I was trying this Beach Towel Robe from MADE, and that I'd let you know how it went. You basically take a large bath or beach towel and turn it into a little robe for swimming or the bath. I made one for my youngest daughter for her birthday, and it turned out sooo cute! My other kids were so enamored with the one I made for her that of course I had to make a few more!
The pattern is $8, and you get a 30-page PDF file with lots of full-color pictures and detailed instructions. Since I've only been sewing since January, this was super helpful for me, and I found the robes pretty easy to make.
The only change I would make to the pattern is that I think the ties are a little long in the large size. Maybe that's just my personal preference, but if you make the biggest size, you may want to keep an eye on that. In my pictures below, I've shortened the ties about 6 inches. Also, she says you can make any of the sizes out of "pretty much any towel," but getting the largest size robe out of your average sized beach towel was a TIGHT SQUEEZE for me (literally just a few inches of leftover fabric), and I had to lay it out differently from the way she shows in her pictures. Look for towels that don't have any decoration or detail on the edges, because you will need your WHOLE towel.
Other than that, I thought the pattern was perfect! Easy to follow, lots of ways to tweak it and personalize it, and sooooo cute!
Here is the one I made first. This is just a plain bath towel from Target (the really soft ones) and I added a hood liner of some cute cupcake fabric.
Here's the second one I made for my older daughter. She picked out the beach towel, and I wasn't crazy about it, but I think it turned out cute!
Now I'm finishing up the one I'm making for my son. It's soul-splitting bright green. So lovely. But I wanted to take a picture of the ties. While I was busy trying to talk my daughter into a cute retro heart patterned towel, my husband managed to talk my son into this bright green towel. Fine, except that it had some turquoise stripes on the ends, and I couldn't afford to waste that much of the towel (I told you it was a close fit!). So I ended up using that part for the ties, and just serged the sides rather than doing the bias tape. I think it'll work out okay.
So... if you're looking for an easy project, check this one out! The terrycloth is pretty forgiving, and hides mistakes in stitching, so it was a good practice project for me and I learned some new things!
The pattern is $8, and you get a 30-page PDF file with lots of full-color pictures and detailed instructions. Since I've only been sewing since January, this was super helpful for me, and I found the robes pretty easy to make.
The only change I would make to the pattern is that I think the ties are a little long in the large size. Maybe that's just my personal preference, but if you make the biggest size, you may want to keep an eye on that. In my pictures below, I've shortened the ties about 6 inches. Also, she says you can make any of the sizes out of "pretty much any towel," but getting the largest size robe out of your average sized beach towel was a TIGHT SQUEEZE for me (literally just a few inches of leftover fabric), and I had to lay it out differently from the way she shows in her pictures. Look for towels that don't have any decoration or detail on the edges, because you will need your WHOLE towel.
Other than that, I thought the pattern was perfect! Easy to follow, lots of ways to tweak it and personalize it, and sooooo cute!
Here is the one I made first. This is just a plain bath towel from Target (the really soft ones) and I added a hood liner of some cute cupcake fabric.
Here's the second one I made for my older daughter. She picked out the beach towel, and I wasn't crazy about it, but I think it turned out cute!
Now I'm finishing up the one I'm making for my son. It's soul-splitting bright green. So lovely. But I wanted to take a picture of the ties. While I was busy trying to talk my daughter into a cute retro heart patterned towel, my husband managed to talk my son into this bright green towel. Fine, except that it had some turquoise stripes on the ends, and I couldn't afford to waste that much of the towel (I told you it was a close fit!). So I ended up using that part for the ties, and just serged the sides rather than doing the bias tape. I think it'll work out okay.
So... if you're looking for an easy project, check this one out! The terrycloth is pretty forgiving, and hides mistakes in stitching, so it was a good practice project for me and I learned some new things!
Tuesday, January 25, 2011
How-Tuesday: How to Get Started Sewing
So I'm certainly no expert on sewing! But I did get a sewing machine for Christmas, and can't wait to get started using it. Someone pointed me toward this series of tutorials that has tons of pictures and is written in a way that's really easy to understand. She has tutorials on The Supplies You Need, Fabrics, Threading Your Machine, Winding and Threading a Bobbin, and more! You should have seen me scratching my head and staring at my owner's manual, not understanding one bit - these pictures help a TON for people who are new to sewing. She even has some tutorials on ruffles and shirring for those who are a little more advanced. That'll be me in a week, I'm sure!
So go check out Ruffles and Stuff! And then click around on her blog for some inspiration!
Subscribe to:
Posts (Atom)
